

Setup an Okta Identity Provider
Prerequisites
You need the following in order to proceed with this tutorial:
If you’re experiencing any difficulties, contact us.
Setting up Okta
The steps for setting up Okta are listed below:
Step 1: Create app integrations
Under Applications→ click on Create App Integrations, select OIDC - OpenID Connect
Select Web Application as the Application Type and click Next
Give your app an App Integration Name , it can be any name of your choice.
For Grant type, make sure "Client acting on behalf of a user" has Authorization code checked.
Under Assignments, select "Allow everyone in your organisation to access" and click Save.
Once the web application is created, client ID, client secret and domain are displayed on the next page.
Step 2: Add a user
In the left navigation menu, select Directory-> People, and click Add person
Enter the user information
Select I will set the password to be able to set the password for the user
Disable User must change password on first login
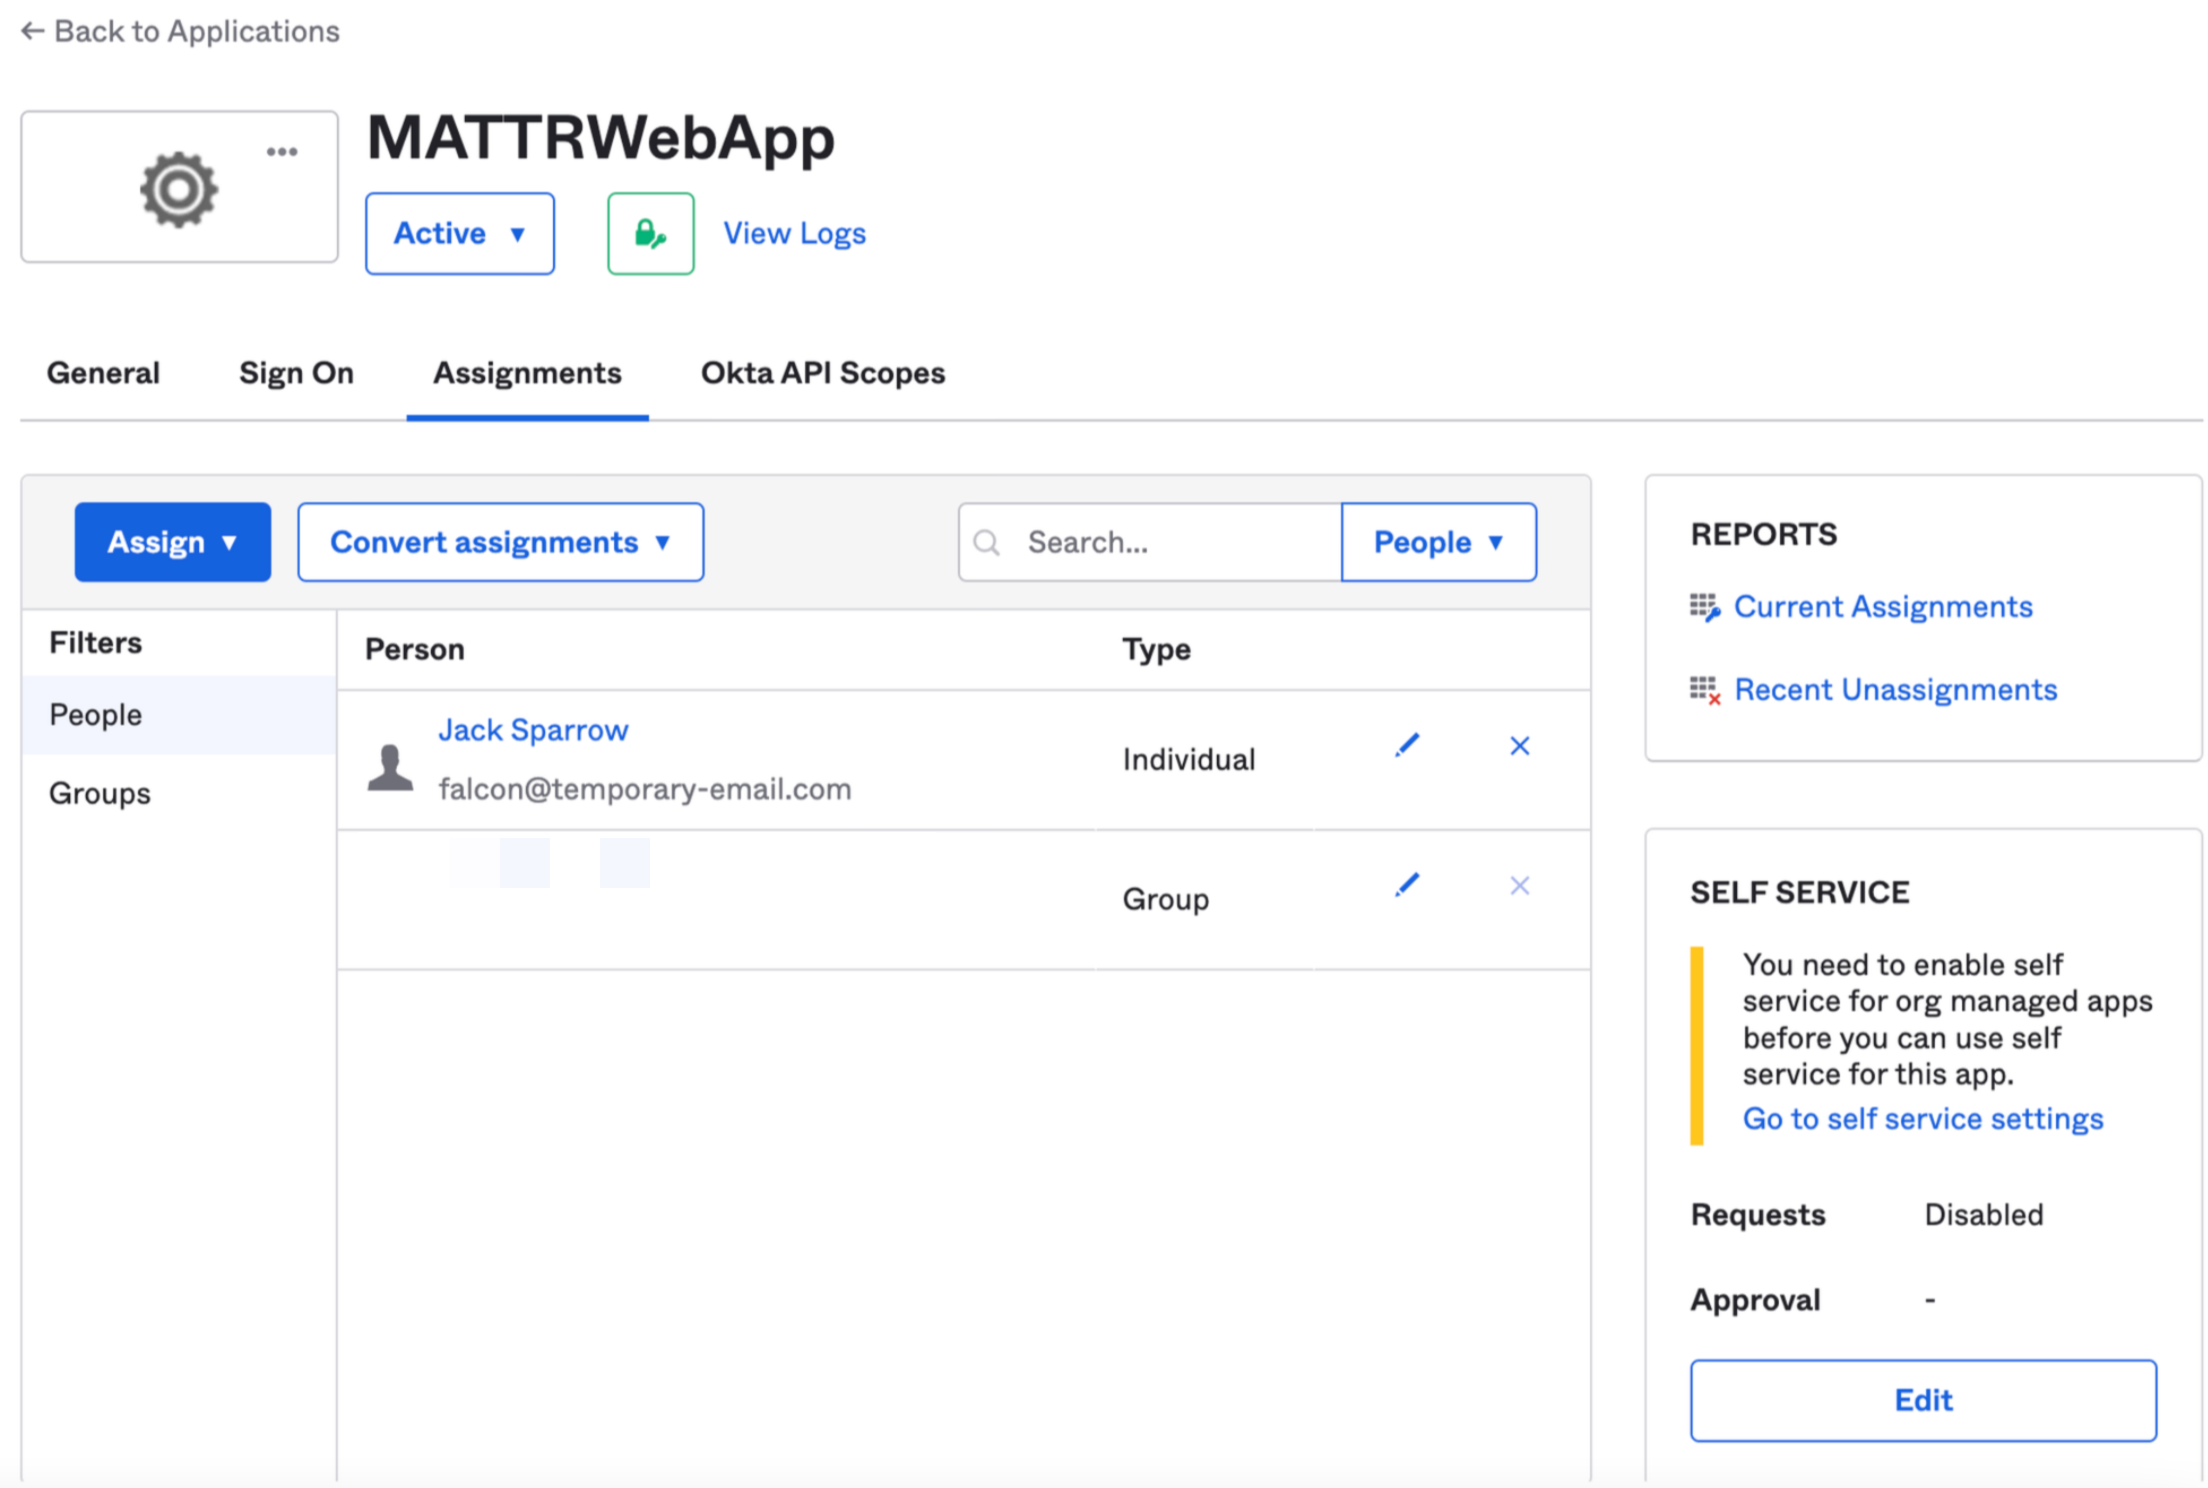
Step 3:
In the left navigation menu, select Applications-> Applications, and click My Web App created on Step 1.
Under the Assignments tab, add the user that was created on Step 2
What's next?
You can now continue to configure your identity provider in MATTR VII.